Release QA
export const meta = { title: 'Release QA', description: 'Configure Release QA to validate a release across one or more repositories, scope regression coverage with tags, and post results back to matching GitHub pull requests.', tags: ['reference'], };
Release QA helps you verify that a planned release is covered by the right regression tests before you ship. You can connect one or more GitHub repositories, limit coverage to specific regression tags, and report status back to pull requests that belong to the release.
01When to use Release QA
Use Release QA when you need a release-focused view of test readiness instead of looking at individual test runs in isolation. It is especially useful when a release spans multiple repositories, when only part of your regression suite applies to the change, or when you want engineers to see QA status directly in GitHub.
Release QA is a good fit when you want to:
- validate a release candidate before deployment
- coordinate QA across multiple services or applications that ship together
- run only the regression coverage that matches a product area or risk tag
- post release validation status to pull requests so reviewers can act without leaving GitHub
02Core concepts
Release QA combines release planning, repository matching, and regression execution into one workflow. Understanding the concepts below helps you configure it correctly.
Releases and linked repositories
A release represents the set of changes you want to validate together. For each release, you can link one or more GitHub repositories so Canary can identify the pull requests that are part of the release.
Use multiple linked repositories when your release includes changes across services, frontend and backend apps, or shared libraries. Keep the repository list limited to the codebases that actually contribute changes to the release so the QA view stays focused.
Regression scope and tags
Regression scope determines which tests Canary uses for Release QA. Instead of always running every regression test, you can choose one or more tags to narrow coverage to the areas most relevant to the release.
Use tags to group tests by feature area, platform, workflow, or risk level. Select multiple tags when a release touches more than one area and you want Release QA to reflect the full scope of change.
Release QA now shows the selected regression scope more clearly in run summaries and report cards. Use that scope label to confirm at a glance whether the release is using your full configured regression suite or a narrower tag-filtered subset.
| Option | What it does |
|---|---|
| No tag filter | Use the broader configured regression coverage for the release. Summary cards show the full regression suite for the release configuration. |
| One tag | Limit Release QA to tests associated with a single area or workflow. Summary cards call out that narrowed regression scope directly. |
| Multiple tags | Combine coverage across several areas in the same release view. Summary cards reflect the combined tagged scope. |
GitHub pull request checks
Release QA can post a GitHub check to pull requests that match the linked repositories and release changes. This gives your team a visible pass, fail, or in-progress signal where code review and merge decisions already happen.
Use pull request checks when you want release validation to be easy to spot in GitHub. This is most helpful for teams that gate merges, coordinate signoff in pull requests, or need a lightweight way to confirm that release-specific regression coverage ran.
03Configuration
Set up Release QA at the release level so Canary can match code changes to the right repositories, tests, and pull requests.
Note: For multi-repository releases, save repository connections from the Linked repositories list in Release QA. Review and update the full list together so the saved configuration matches what you expect to load the next time you open the release.
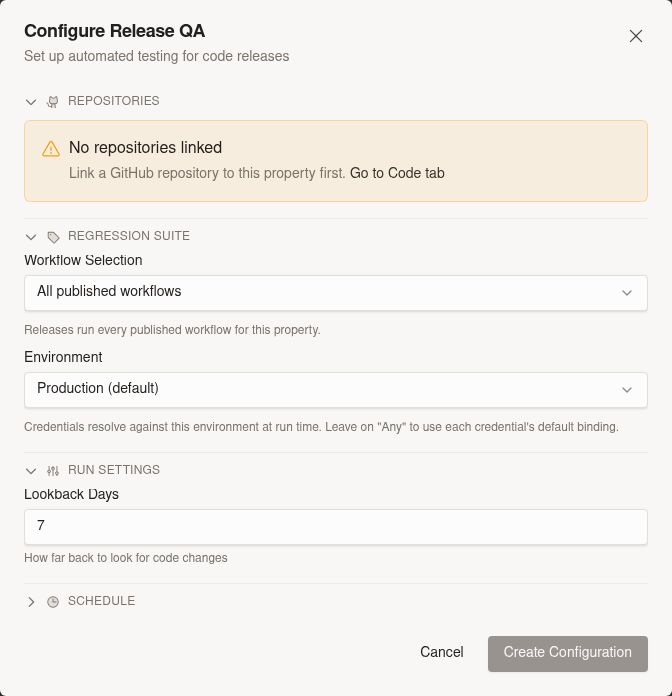
Connect one or more GitHub repositories
Link every repository that contributes code to the release. Add each frontend, backend, service, or shared-library repository that ships as part of the same release.
- Open the release you want to validate.
- Go to the Release QA configuration area.
- In Linked repositories, review the current repository list.
- Add each GitHub repository that belongs to the release.
- For each repository entry, set the branch you want Release QA to compare.
- Optionally add a label that helps your team identify that repository in the release view.
- Remove any repository that no longer belongs to this release.
- Click Save.
Use the Linked repositories list as the source of truth for repository configuration. When you reopen Release QA, confirm that the full list, branch values, and labels match the release you want to validate before you run QA.
| Field | What to set |
|---|---|
| Repository | The GitHub repository that belongs to the release |
| Branch | The branch Release QA uses for that repository's release comparison |
| Label | An optional display label such as frontend, backend, or shared-api |
If your organization ships from a single repository, connect just that repository. If your release spans multiple repositories, keep every participating repository in the same saved list so Canary can include all matching pull requests in the Release QA view with the right branch and label context.
Choose regression tags
Select the tags that define which regression tests should represent release coverage. Choose tags that match the parts of the product affected by the release.
- In the release's Release QA settings, find Regression tags.
- Select one or more tags that match the release scope.
- Save the configuration.
Use fewer tags when you want a tightly targeted release check. Use multiple tags when the release affects several workflows and you need broader confidence without running every available regression test.
Bootstrap regression coverage
Use bootstrap seeding to create an initial regression suite for a property in one step when it does not already have meaningful release coverage. Canary reviews the connected codebase, proposes high-priority smoke-test specs, and adds the results directly to the release timeline so you can seed coverage without building the first suite by hand.
- Open the release from the Releases page.
- Find the Release QA area and click Bootstrap suite.
- Review the proposed flows directly on the release timeline.
- Select the proposals you want to keep.
- Turn the selected proposals into workflows from the UI.
- Refine coverage with tags or additional workflows as needed.
Bootstrap seeding generates a starter set of smoke-test specs for the property. Use the proposed flows in the timeline to decide which paths are useful, then convert the best candidates into workflows without leaving Release QA.
| Generated output | What it gives you |
|---|---|
| Proposed flows | High-priority user journeys proposed from the codebase and release context |
| Timeline activity | A visible summary of proposed flows, run results, and skipped coverage areas on the release timeline |
| Selectable proposals | A way to choose which bootstrap outputs to keep before creating workflows |
| Workflow creation | A direct path to turn selected proposals into workflows from the Release QA UI |
| Reusable actor setup | Actor metadata that references credential templates so you can wire the same specs into different environments |
Bootstrap-generated specs reference credential templates instead of concrete credentials. This makes the generated coverage easier to reuse across environments and keeps environment setup consistent when you later convert approved specs into workflows.
04Running and monitoring Release QA
Run Release QA when your release configuration is complete and your regression scope reflects the changes you plan to ship. Use the release view to confirm linked repositories, selected tags, and the current QA status before making deployment decisions.
The Releases overview now gives you a clearer snapshot of Release QA without opening individual runs. Use it to check overall run status, tester progress, regression counts, change volume, and timing directly from the release row or details view.
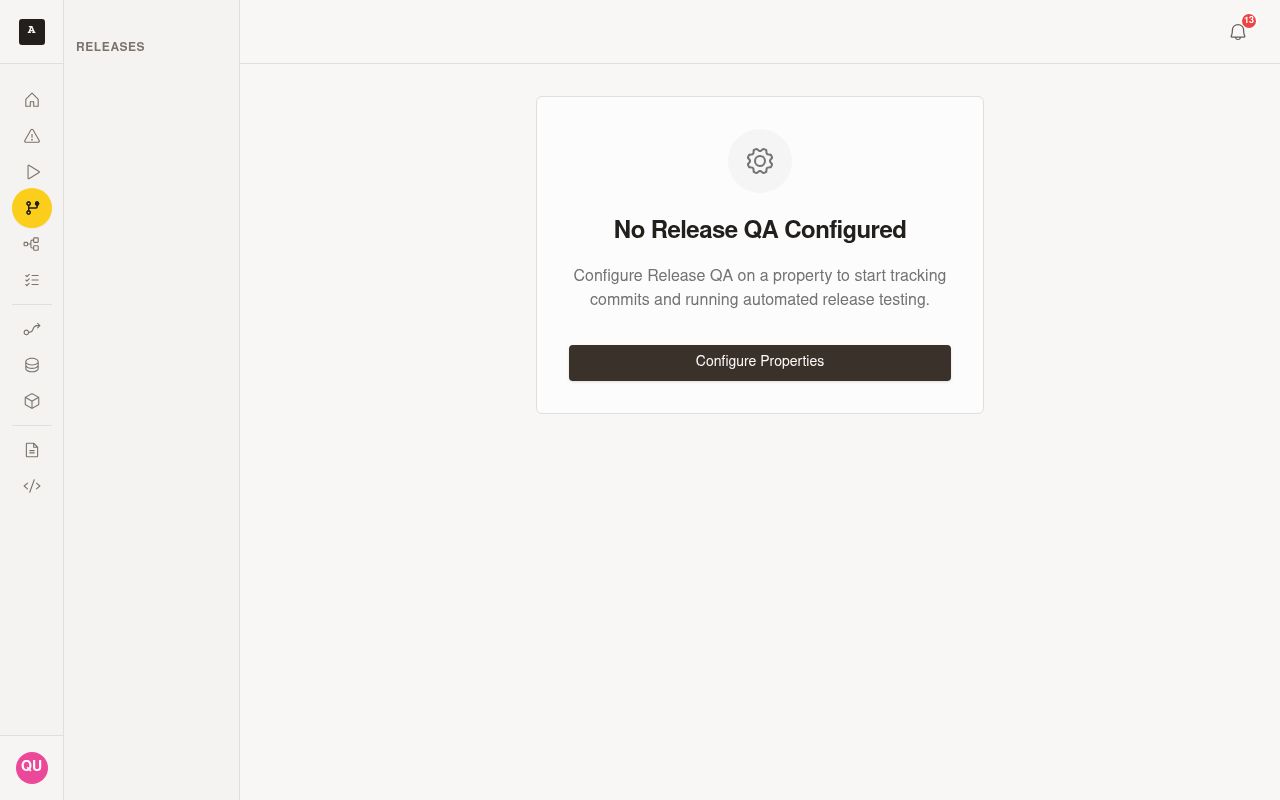
As Release QA runs, monitor progress from the release context instead of switching between individual tests. Review the status indicators to see whether the run is queued, actively testing, blocked on setup, passed, failed, or has no new commits to validate.
Use the overview metrics to answer these questions quickly:
| Metric | What it tells you |
|---|---|
| Run status | Whether Release QA is waiting, running, passed, failed, or needs attention |
| Tester progress | How much of the assigned testing is complete |
| Regression counts | How many regression tests are included and how many have finished |
| Change volume | How much code changed in the release |
| Timing | When the run started, how long it has been running, or when it completed |
Test areas
Use Test areas to review generated coverage before you run or rerun workflows. Open a test area to see the generated .canary.md spec, validation state, credential context, and any linked workflow artifacts created from that spec.
When a spec validates successfully, convert it into a runnable workflow directly from the test area. If you need to move faster, select multiple validated specs and convert them in bulk from the same Release QA view.
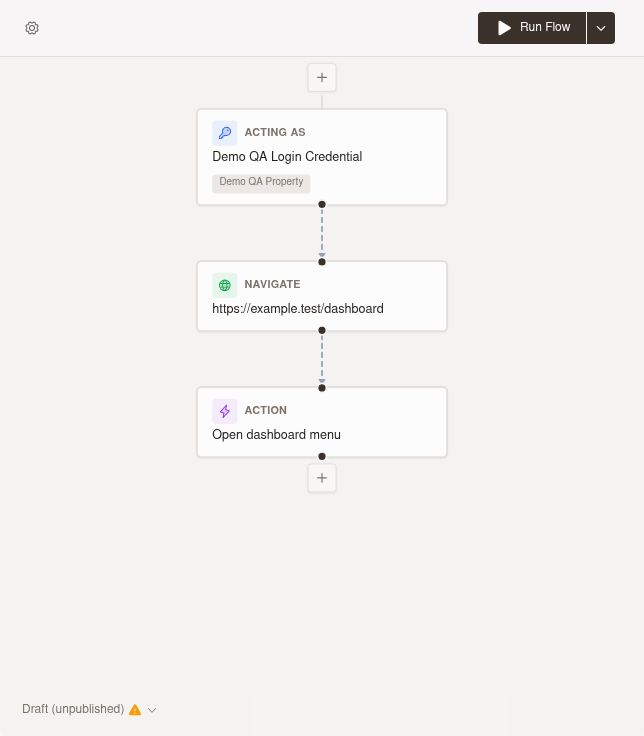

Use the test area details to answer these questions quickly:
| Detail | What it shows |
|---|---|
| Generated spec | The current .canary.md spec for that test area |
| Validation state | Whether the spec is ready to convert into a workflow |
| Credential context | Which credential templates or environment context the workflow expects |
| Compiled workflow link | A shortcut to the compiled workflow created from the validated spec |
Runs and results
After you convert specs into workflows, use the release report to review execution status and outputs. Start from the overall Release QA status, then open the underlying workflow runs when you need step-by-step details or failure context.
The regression summary cards now show richer suite-level results before you drill into individual workflows. Use them to review progress, pass rate, and regression scope, then open the full suite when you need complete workflow-by-workflow detail.
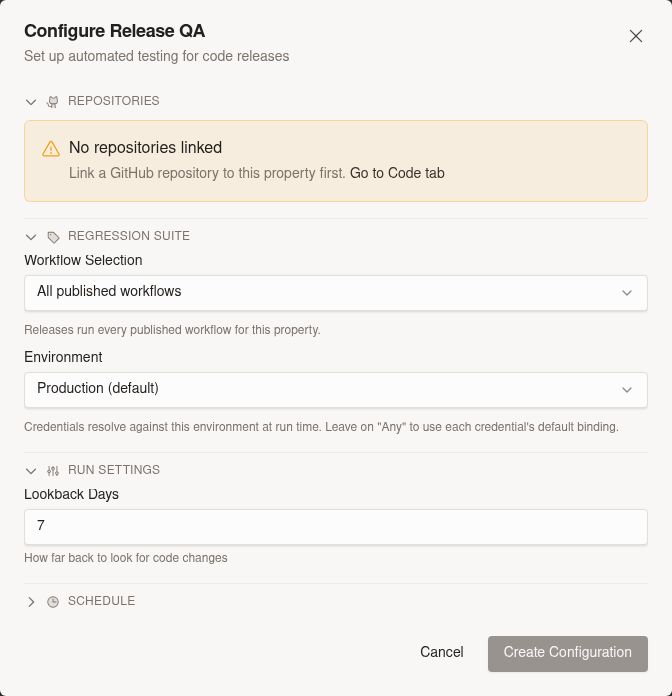
If a converted workflow cannot run because the selected environment is missing a required credential template, expect a clearer run message in the workflow results. Use that message to fix the environment setup, then rerun the workflow.
After a run finishes, open the report to review generated release notes alongside feature clips or screenshots extracted from passing workflows. Use this view to confirm what changed and quickly scan the visual evidence tied to the release.

For deeper investigation, open the underlying regression runs and review their execution details. Use the direct links in run results to jump into full run details when you need logs, steps, or failure context. If you need to refine the release view, update the linked repositories, branch settings, labels, or regression tags and rerun QA with the corrected scope.
05Best practices
- Link only repositories that are part of the current release.
- Use the Linked repositories list to review the entire multi-repository configuration before you save.
- Update repository branches, labels, and removals together so the saved configuration matches the release scope.
- Use consistent regression tags across workflows so Release QA scope is easy to understand.
- Choose multiple tags only when the release genuinely spans multiple product areas.
- Post GitHub checks when your team uses pull requests as the primary release coordination point.
- Review Release QA configuration early in release planning so you do not discover missing repositories or tags at the end of testing.
- Revisit your tag strategy as your regression suite grows to keep release coverage targeted and readable.
06Reviewing Release QA runs
Use the release report as your main review surface after a run completes. Start with the overall Release QA status, then scan repository coverage, linked pull requests, and the generated report outputs before you decide whether the release is ready.
Review each linked repository in context:
- Confirm which repositories contributed changes to the release.
- Check whether any repository is labeled as having no new commits.
- Use repository labels and branch settings to confirm you are reviewing the right code path for each part of the release.
- Focus investigation on repositories with failed or incomplete regression coverage.
- Use compare links and linked pull requests to inspect the code included in the release.
Treat a no new commits state as informational, not as a failed Release QA result. If a repository did not change since the previous compare point, Canary shows that status directly so you can distinguish it from test or reporting issues.
Reviewing generated tests
Review bootstrap-generated tests before you promote them into your release coverage. Use the proposed flows in the timeline to confirm that the generated smoke test matches the user journey you want to validate.
- Open the proposed flow from the release timeline or Test areas list.
- Review the structured preview for journey steps, inputs, preflight notes, cleanup steps, and skipped coverage.
- Confirm that actor details reference the expected credential templates for the target environment.
- Select the proposals you want to keep.
- Turn the selected proposals into workflows from the UI when the preview matches the intended workflow.
Use the preview to answer these questions quickly:
| Preview section | What to review |
|---|---|
| Journey steps | Whether the generated flow covers the core path in the right order |
| Inputs | Which data or user actions the test expects |
| Preflight notes | Any setup assumptions or checks Canary identified before execution |
| Cleanup steps | How the flow resets state after the test completes |
| Skipped coverage | Which related areas were not included in the generated spec |
| Actor details | Which credential templates and environment context the spec expects |
Approve generated specs that capture a useful smoke path with the right environment assumptions. Edit or leave unpromoted any spec that needs more setup, broader coverage, or different actor metadata before it becomes part of your regression suite.
07Reports and outputs
Release QA reports combine release status with artifacts that help you understand both coverage and change context.
Use the report outputs to answer these questions quickly:
| Output | What it shows |
|---|---|
| Release status | Whether the configured regression coverage passed, failed, or is still in progress |
| Release notes | Generated notes that summarize the changes included in the release |
| Feature clips | Auto-extracted clips or screenshots from passing workflows that illustrate tested behavior |
| Repository summaries | Per-repository status, including repositories with no new commits |
| Compare links | Shortcuts to review code changes across linked repositories |
Open the Release Notes and Feature Clips view when you want a combined summary of what changed and what Canary validated visually. Use the generated notes to review the release narrative, then scan the clips or screenshots to verify the tested experience.
If a workflow passes but no clip is available, review the underlying run details for that workflow. The report still shows the overall Release QA result even when visual artifacts vary by run.
08Slack and GitHub integrations
Release QA keeps engineers informed in the tools they already use.
In GitHub, Canary posts pull request checks for matching pull requests so reviewers can see release validation status without leaving code review.
In Slack, multi-repository Release QA reports include clearer compare links so you can inspect code changes for each repository more easily. Use those links to jump from the shared status message into the exact set of changes that belong to the release.
When a linked repository has no new commits, expect reporting to call that out clearly instead of implying a failed comparison. This helps your team interpret shared Slack updates and release summaries correctly.
09Troubleshooting
If a Release QA report looks incomplete or unexpected, use these checks to narrow down the cause.
| Issue | What to check |
|---|---|
| Expected pull requests do not appear | Confirm the correct repositories are linked in Linked repositories, then verify the saved list includes every repository that belongs to the release |
| A repository is missing after you reopen Release QA | Reopen Linked repositories, review the full saved list, add any missing repository back, and click Save before you run QA |
| A repository shows no new commits | Verify that no new commits landed since the previous compare point; treat this as an informational state |
| Slack compare links are confusing or missing | Confirm the release includes all intended repositories in the saved configuration and review the latest Slack message for per-repository compare links |
| The report has release notes but limited feature clips | Open the underlying passing workflows and confirm which runs produced screenshots or clips |
| GitHub checks do not appear | Review repository links and workspace GitHub integration settings |
| A validated spec does not convert into a workflow | Reopen the test area, confirm the spec is still valid, and check whether the area has the required credential context |
| A converted workflow cannot start in the selected environment | Review the run message for missing credential templates, update the environment or credentials, and rerun |
| A workflow appears more than once in the suite summary | Open the full suite view to compare repeated runs for that workflow, then review the latest or relevant attempt in context |
| Suite details do not expand as expected | Use the fallback per-workflow summary shown in the release report, then open the linked workflow run directly for deeper detail |
For persistent issues, review the underlying regression runs to see whether failures came from test execution, repository matching, or missing release artifacts.