Tasks
export const meta = { title: 'Tasks', description: 'Use Tasks to view, claim, manage, and track agent-driven work from a central list and detail view.', tags: ['reference'], };
Use Tasks to manage agent-driven work from one place. You can review open work, inspect task details, take lifecycle actions, and track progress without moving between multiple views.
01When to use Tasks
Use Tasks when your team needs a central place to manage work assigned to agents or operators. Tasks help you quickly understand what needs attention, who is working on it, and what actions are available for each task.
This area is especially useful when you want to:
- Review all available tasks in one list
- Find work by status, owner, or other available filters
- Claim work before you start
- Trigger or complete tasks from a dedicated task view
- Check task progress and activity history over time
- Triage follow-up work that was automatically created from newly detected issues
02Core concepts
Task list
The Task list is the main entry point for browsing work. It shows the tasks available to your organization in a central view so you can scan, filter, sort, and update work before opening a specific task.
Use the list to:
- See multiple tasks at once
- Narrow the view with filters
- Reorder tasks with sorting options
- Open a task to review its full details in the task drawer
- Edit fields inline without leaving the list
- Delete tasks directly from the UI when they are no longer needed
In most workflows, you start in the Task list, then open a task when you are ready to inspect or act on it.
Task details
The Task details view shows the full context for a single task. Use this view to understand what the task is for, review its current state, and take the next available action.
Depending on the task, the details view can help you:
- Confirm the task’s current status
- See who has claimed the task or who it is assigned to
- Review progress and recent activity
- Read markdown-formatted descriptions and preview image thumbnails included in the task content
- Review tags, priority, assignment, linked customers, linked issues, comments, and subtasks in one place
- Edit task fields such as title, description, priority, tags, assignee, and status
- Create a subtask directly from the task detail view when you need to break larger work into smaller child tasks
- Trigger task execution
- Mark the task complete when the work is done
- Delete the task when it is no longer needed
Open task details whenever you need more context than the list provides.
Task states and actions
Tasks move through states as work progresses. The actions available to you depend on the task’s current state and your organization’s access.
Common actions include:
| Action | What it does |
|---|---|
| Claim | Assign the task to yourself so you can work on it |
| Unclaim | Release the task so someone else can take it |
| Assign | Set or change the assignee without claiming the task yourself |
| Edit | Update task details such as title, description, priority, tags, assignee, or status |
| Create subtask | Create a child task from the current task so you can split work into smaller steps |
| Trigger | Start the task or advance work when that action is available |
| Complete | Mark the task as finished |
| Delete | Permanently remove a task you no longer need |
Use the current task state to decide what to do next. If an action is not available, the task may need to move to a different state first or be handled by another user.
03Managing tasks
Filtering and sorting
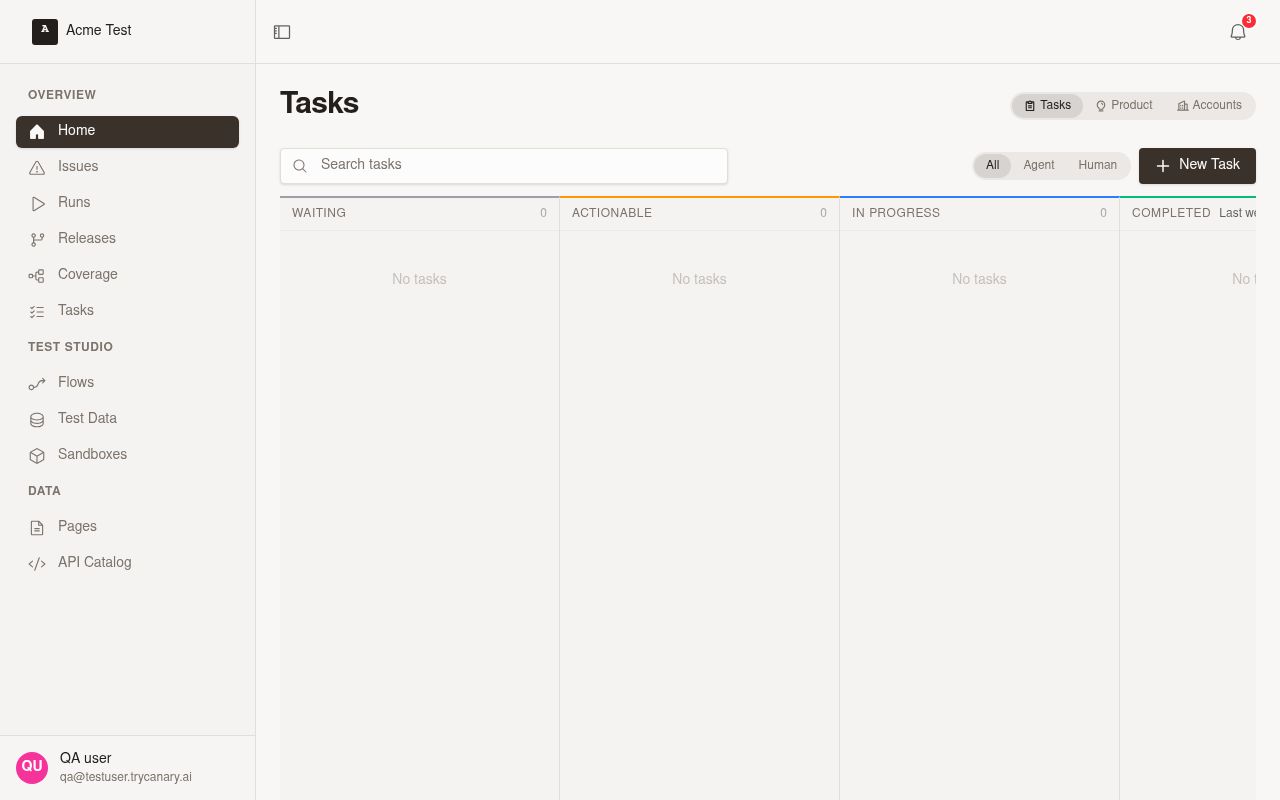
Use filters, sorting, and search in the task board to focus on the work that matters right now. This is the fastest way to reduce noise when your organization has many active tasks.
Common ways to manage the board include:
- Search for a task by title or other visible record text when you need to jump to a specific work item quickly
- Filter to a specific status to find work that needs attention
- Use the Agent/Human filter to separate AI-submitted work from human-submitted work
- Filter by claimed or unclaimed tasks
- Filter by assignee when you need to review work for a specific teammate
- Filter by linked customer when you need to find all tasks tied to a specific account or person
- Reuse previously used customer names when tagging tasks so customer filters stay more consistent across your organization
- Filter completed work by a selected timeframe when you want to review recent results without loading older completed tasks
- Sort by the fields available in the current view to bring the most relevant work to the top
- Adjust the list as priorities change throughout the day
When you are triaging work, start with broad filters, then narrow the board until you find the tasks you need. Use the Agent/Human filter early when you want to review AI-submitted work separately from human-submitted work. Use search when you already know part of the task name or want to confirm whether a task already exists before you open or create another one.
When you add or edit linked customers, use the customer suggestions to pick an existing customer name when possible. This helps your team avoid near-duplicate customer tags and makes customer-based filtering and reporting easier to trust.
View tasks
Note: Agent Tasks now live under Boards and use the shared board experience. Open Boards to access task work.
Open Boards to work with tasks. Tasks now use a single board experience, so you no longer switch between separate task views. Use the built-in Agent/Human filter to quickly separate AI-submitted work from human-submitted work while staying on the same board.
Use the search field at the top of the page to find matching tasks. Combine search with board filters when you need to narrow the queue by task source, status, ownership, or customer context.
| Board control | Best for |
|---|---|
| Board | Review work by status, drag cards between columns, search for specific tasks across the board, filter completed work by timeframe, filter by Agent/Human, confirm ownership from assignee display on each card, and open task details without leaving the queue |
Start in the board when you are triaging active work or moving tasks through a workflow. Apply the Agent/Human filter when you want to focus on AI-submitted work, review only human-submitted work, or compare both types of work in the same shared board.
In the board, use the assignee display on each task card to see ownership at a glance, drag a task card from one status column to another to update its status, use the completed timeframe filter when you want to focus on recent finished work, and search the board when you need to find a specific task without scanning each column manually.
Claiming and unclaiming
Claim a task when you want to signal that you are actively handling it. This helps your team avoid duplicate effort and makes ownership clear.
When a task includes linked customers, linked issues, or an active comment thread, review that context before you claim it. This helps you confirm you are picking up the right follow-up work and gives you the latest handoff notes before you start.
To manage ownership:
- Open Tasks.
- Review work in Board or switch to Table view.
- Select a task from the list or board.
- Review any linked customers, linked issues, and recent comments in the task details drawer.
- Click Claim to assign the task to yourself.
- Click Unclaim if you need to release the task.
You can also change assignment from the task drawer. Use the assignment control in the drawer or footer actions to hand work to the right teammate without leaving the page.
Use comments when you unclaim a task or hand it off to another teammate. Add a short note about what you checked, what still needs attention, or why you are releasing the task so the next person can continue without redoing the same investigation.
Unclaim tasks when you are handing work off, pausing indefinitely, or no longer responsible for the next step.
Triggering and completing tasks
Some tasks require an explicit action to begin or continue work. In those cases, use Trigger from the task details view when that option is available.
Tasks can now run directly on a sandbox instance. Use this flow when you want to hand coding or investigation work to an AI agent and keep execution, progress, and results attached to the same task.
When a task is backed by a sandbox, the trigger action starts work on that sandbox instead of only moving the task forward manually. This lets you launch agent-driven work from the task itself, then follow the same task through execution, review, and completion.
Tasks can also be created automatically when Canary detects a new issue. These follow-up tasks give you a ready-made place to triage the finding, assign ownership, and track investigation work without creating a task manually.
Tasks can also be created from Slack when someone adds a 🎫 reaction to a channel message thread. Use this flow to capture follow-up work directly from team conversations. For setup steps, supported behavior, and integration details, see Slack.
Issue-created tasks usually include the issue link and supporting context in the task details so you can start from the finding instead of reconstructing it yourself. Slack-created tasks let you turn discussion into tracked work without leaving Slack, then continue triage and lifecycle management in Tasks. Sandbox-backed tasks extend the same flow by letting you trigger work directly on a sandbox instance and monitor the output from the task lifecycle.
A typical flow looks like this:
- Open Tasks.
- Look for newly created follow-up tasks if you are reviewing fresh issues, Slack-created tasks if your team files work from conversations, sandbox-backed tasks if you want to send work to an AI agent, or create a new task from the tasks page if you need to add unrelated work.
- Start in Board view or switch to Table view based on how you want to manage the queue.
- Find the task and open the task details drawer.
- Review any linked customers, linked issue records, comments, and sandbox context for the task.
- Claim the task if needed.
- Update Status, Priority, or assignment inline if you only need a quick change, or click Edit to update more task fields.
- Open the linked issue from the task when you need to investigate the underlying finding in more detail.
- Drag the task card to a new status in Board view or use available actions in the task details drawer.
- Click Trigger if the task requires a manual start or if you want to start agent work on the linked sandbox.
- Review task progress, sandbox execution updates, and task history in the drawer.
- Add a comment if you need to capture findings, ask for input, or document a handoff before closing the work.
- Click Complete when the work is finished.
Task lifecycle and status management
Use task statuses to track where work stands and what should happen next. You can update status from the task list, the task details drawer, or by dragging cards between columns in Board view.
Newly detected issues can enter this lifecycle automatically by creating a follow-up task for your team. Slack conversations can also enter this lifecycle when a 🎫 reaction on a channel message thread creates a task. Sandbox-backed tasks can enter the same lifecycle when you want an AI agent to execute work directly on a sandbox instance. Once the task appears in Tasks, manage it the same way you manage manually created work: review the context, claim or assign it, investigate any linked records, trigger sandbox execution when needed, and move it through your workflow until it is complete.
Use status changes to:
- Reflect that work has started, is in progress, or is complete
- Keep the board aligned with the current state of work
- Show teammates which tasks are ready for attention or handoff
- Reduce manual navigation when you are moving several tasks through a workflow
- Triage auto-filed issue follow-up work without leaving the task system
- Turn Slack discussions into tracked work with the same lifecycle as other tasks
- Track sandbox-backed agent work from trigger through review and completion
Use inline updates when you need to re-rank work, reassign ownership, or move tasks quickly during triage. When you need more context before changing status or ownership, open the task details drawer first.
Task details
Open the task details drawer from either Table or Board view to inspect a task without leaving the Tasks page. Use the drawer when you need more context, want to review recent activity, or need quick access to available actions.
Use the task details drawer to:
- Review the task title, description, and current status
- Edit key fields inline from the drawer header instead of opening the full editor
- Read markdown content with inline formatting and preview any image thumbnails included in the task description
- Confirm ownership, assignee, priority, tags, and claim state with clearer assignee display
- Review linked customers so you can see which accounts or people the task affects
- Pick from suggested customer names your organization has already used when you add or update customer links
- Confirm whether a customer tag is linked to an organization when you need cleaner tracking or reporting context
- Open linked issue records so you can investigate the finding that created the task
- Read and add comments to capture follow-up notes, decisions, and handoff context
- Write comments with a richer editor that makes longer notes and formatted updates easier to manage
- Mention teammates in comments with
@member suggestions when you want to ask for input or direct a handoff - Review parent-child relationships so you can see whether the current task belongs to a larger task or includes child subtasks
- Create a subtask when you need to split a larger task into smaller units of work
- Change assignment from the drawer when ownership needs to shift
- Use footer actions such as Claim, Unclaim, Edit, Create subtask, Trigger, Complete, or Delete
- Review richer event history to see what changed, who changed it, and what happened most recently
- Follow sandbox-backed execution details when the task runs on a sandbox instance
- Stay in the current task queue while reviewing details
Use parent and subtask relationships to keep larger workflows organized. The parent task provides the higher-level work item, while each subtask tracks a smaller step that can be assigned, updated, and completed separately.
When you add or update linked customers, start by selecting a suggested customer if the right one already appears. These suggestions come from customer names your organization has used before, which helps you keep naming consistent across related tasks.
If the customer should map to a specific organization, ask an admin to link that customer tag to the organization. This gives your team a cleaner customer record for task tracking and makes customer-based reporting easier to interpret across the workspace.
When you add a comment, use the richer editor to format longer updates more clearly. Type @ to find and mention teammates, then submit the comment to notify them by email and link the conversation directly to the task.
Mentions render directly in the comment thread, so you can quickly see who was referenced in a handoff or review request. Use this when you need to pull in a teammate without switching to a separate message or leaving the task.
When a task runs on a sandbox, use the detail view to confirm that the task was triggered, monitor execution updates, and review the results in the same lifecycle record. This gives you one place to follow handoff, execution, and outcome without switching to a separate tracking flow.
When you create a subtask from the task detail view, Canary links it to the current task automatically. The subtask inherits parent context so the new child task starts with the relevant background instead of requiring you to recreate it from scratch.
To create a subtask:
- Open Tasks.
- Select the parent task from Board or Table view.
- In the task details drawer, click Create subtask.
- Review the inherited parent context in the subtask dialog.
- Update the subtask title, description, assignee, priority, or other fields as needed.
- Click Create.
After you create a subtask, continue working from the parent task detail view. Use the subtask entry to open the child task, track its progress, and understand how the smaller work item fits into the larger workflow.
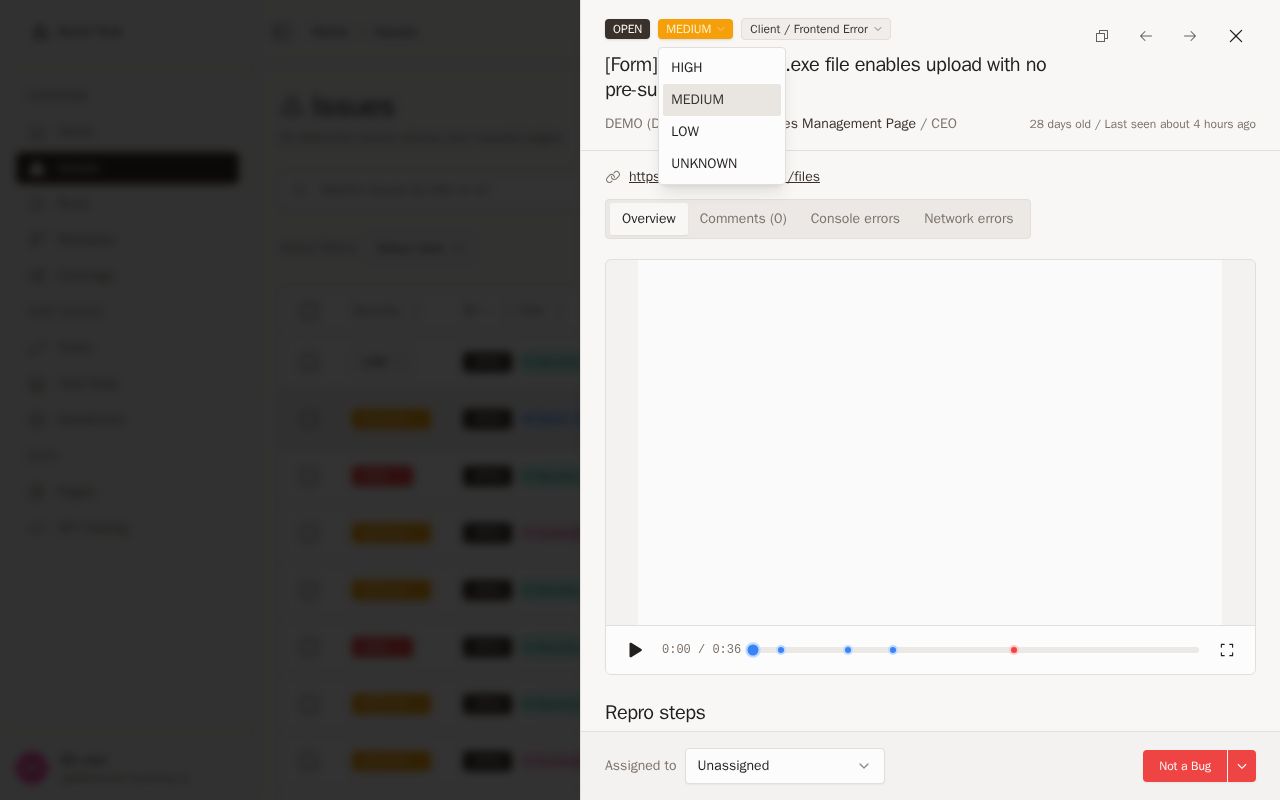
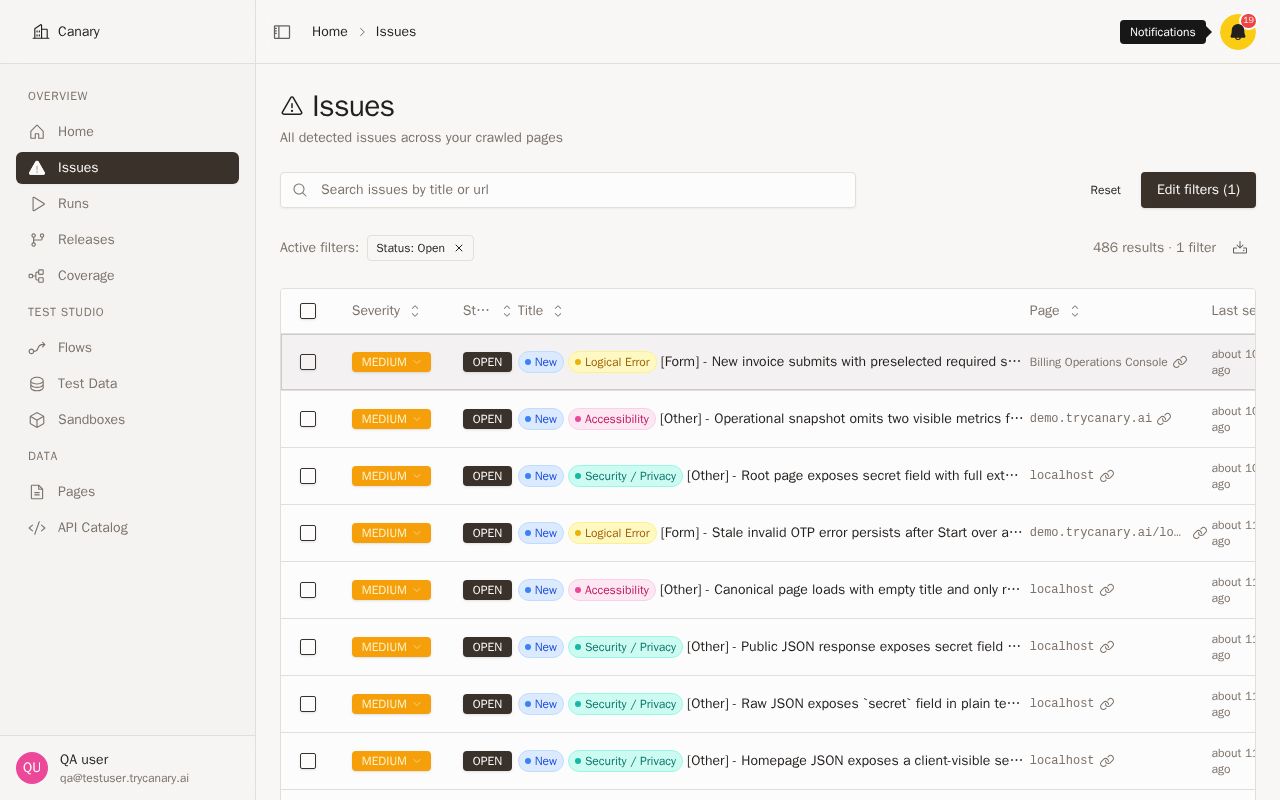
Use the drawer when you want to make quick updates, review markdown instructions, check attached visual context through image thumbnails, review which customers are involved, reuse a suggested customer name instead of creating a duplicate tag, confirm whether customer context is tied to an organization, inspect the linked issue that prompted the task, continue a comment thread with formatted notes and @mentions, review parent and child task relationships, follow sandbox execution progress, or take an action without leaving the board or table.
Editing tasks
Edit a task when the scope, ownership, or supporting context changes. Update task fields from the task list or task details drawer so the list, board, and task history stay accurate.
You can edit these fields:
| Field | What to update |
|---|---|
| Title | Rename the task so the work is easier to scan in the list or board |
| Description | Add or revise markdown instructions, links, checklists, or image references |
| Priority | Change how urgently the task should be handled |
| Tags | Organize the task for filtering, triage, or routing |
| Assignee | Reassign the task to the right teammate |
| Status | Move the task to the correct stage in the workflow |
To edit a task:
- Open Tasks.
- Select a task from Board or Table view.
- Change available fields inline in the list or task drawer when you only need a quick update.
- Click Edit in the drawer when you need to update the description, tags, assignee, or multiple fields at once.
- Update the fields you need.
- Click Save.
Use inline controls in the task list or drawer when you only need to change a small number of fields. Open the full editor when you need to update the description, tags, assignee, or other task details together.
Edit tasks whenever details change so teammates always see the latest context before they claim, trigger, or complete work.
Deleting tasks
Delete a task when it was created by mistake, duplicated, or no longer applies. Use deletion carefully because it permanently removes the task from the queue.
To delete a task:
- Open Tasks.
- Find the task in Table view or open it from Board view.
- Click Delete from the row actions or from the task drawer.
- Confirm the deletion.
Delete tasks only when you are sure the work should not remain in your task list or board.
04Tracking progress and history
Use the task details view to track how work moves over time. Progress and history help you understand what has already happened, what is currently in motion, and whether any follow-up is needed.
Review task history when you need to:
- Confirm that a task was triggered
- Check whether ownership changed
- Understand the latest progress on a task
- Verify that the task was completed
- Confirm when task details such as assignee, priority, tags, status, or description were updated
- See which customers were linked to the task for follow-up context
- Review comments that document findings, questions, and handoffs between teammates
- Confirm that a task was created as follow-up work for a newly detected issue
- See the linked issue record you investigated from the task
- Track when subtasks were created from a parent task and how child work is progressing
- Follow sandbox-backed execution updates and review the results of agent work on a sandbox instance
When you break work into subtasks, use the parent task to monitor the broader workflow and open each child task for more detailed progress. This makes it easier to track agent-driven work that spans several smaller steps without losing the relationship between the overall task and the individual actions.
The redesigned event history makes changes easier to scan, especially when tasks pass between team members or when you need to confirm what changed before taking the next action. Comments, linked records, customer links, subtask relationships, and sandbox execution updates add collaboration context directly in the task so you can track agent-driven work without switching to separate notes or conversations.
05Best practices
- Claim tasks before you begin work so ownership stays clear.
- Unclaim tasks promptly if you stop working on them.
- Use filters and sorting to keep your list focused on the highest-priority work.
- Use the completed timeframe filter in Board view to review recent finished work without cluttering active columns.
- Review task details before triggering or completing a task.
- Keep task titles, descriptions, tags, and assignees current so your queue stays easy to triage.
- Use markdown in descriptions when you need clearer instructions, links, or lightweight formatting.
- Review image thumbnails in task content to confirm visual context before taking action.
- Link the relevant customers to a task so teammates can quickly understand who is affected.
- Reuse a suggested customer name when possible so customer filters and reports stay cleaner across your organization.
- Ask an admin to link customer tags to the correct organization when you need more reliable customer tracking and reporting.
- Review linked issue records before you begin investigation on an auto-filed task.
- Add comments for findings, blockers, and handoffs so collaboration stays attached to the task.
- Delete duplicate or obsolete tasks to keep the queue clean.
- Check progress and history before taking action on a task that another teammate previously handled.
- Build a team routine for who claims, triggers, edits, and completes work so handoffs stay consistent.
06Related
Agent Tasks now live under Boards, so use the related docs below when you want to connect task management with other board-based workflows or with the systems that create and advance task work.