Release Timeline
export const meta = { title: 'Release Timeline', description: 'Use Release Timeline to review release activity, compare commits and deployments, and see which commit is currently deployed.', tags: ['reference'], };
Release Timeline helps you understand how changes move through a release over time. Use it to review timeline activity, inspect commits tied to a release, and quickly see which commit is currently deployed.
01When to use Release Timeline
Use Release Timeline when you need to answer questions about release status without digging through separate tools. It is especially useful when you want to:
- Confirm what changes are included in a release
- See how commits progress through deployment
- Identify which commit is live right now
- Understand whether a release is still moving forward or has already reached production
- Share a clear release view with teammates during QA, launch, or incident review
02Core concepts
Release Timeline organizes release activity into a chronological view so you can follow changes from commit history through deployment state. Focus on the entries in the timeline and the deployment status attached to commits.
Timeline entries
Timeline entries represent events and updates related to a release. As you scan the timeline, use each entry to understand what happened, when it happened, and how that event fits into the broader release.
Depending on your workspace activity, timeline entries can help you:
- Follow release progress in order
- Review recent changes without switching context
- Spot meaningful release events quickly
- Compare earlier and later points in the same release
Timeline rows now include clearer status summaries for each release run. Use these summaries to see whether notes, regression coverage, and docs updates are present without opening every run.
When Release QA planning is available, timeline activity can also give you a direct starting point for creating coverage. Use the Release QA action on the relevant timeline entry to bootstrap a suite from the release context you are already reviewing.
Commits and deployments
Commits give you the change-level view of a release, while deployment status shows where those changes have landed. Release Timeline connects these signals so you can tell whether a commit is part of the release history and whether it is the commit that has reached production.
Use the commit and deployment details together to:
- Verify that a specific change is included in the release
- Distinguish pending changes from deployed changes
- Understand which commit represents the live production state
- Reduce confusion when multiple commits are close together in time
03Viewing deployed commit status
Open Release Timeline and review the commit list or related timeline entries for deployment indicators. When deployment tracking is available, Release Timeline highlights which commit is currently deployed so you can identify the live commit at a glance.
Use this status to confirm whether the changes you are reviewing have already reached production. If the commit you expect is not marked as deployed, treat it as not yet live and continue monitoring the timeline.
04Interpreting release progress
Read Release Timeline from top to bottom or newest to oldest, depending on how your team reviews releases. Focus on the relationship between recent timeline activity and the commit currently marked as deployed.
Use these patterns to interpret progress:
| Signal | What it means |
|---|---|
| A commit is marked as currently deployed | That commit represents the live production version shown in the timeline |
| Newer commits appear without deployed status | Those changes may be under review, in progress, or not yet released |
| Timeline activity continues after the deployed commit | The release is still evolving, even if production remains on an earlier commit |
| The deployed marker changes to a newer commit | Production has advanced to a later version |
| A timeline row shows notes, regression, or docs indicators | That release run includes a summary of what was completed for that run |
| A regression indicator shows pass or fail | Regression results are available for that run, so you can quickly tell whether checks succeeded |
| A timeline row shows issue or regression summary text | Hover details can give you more context about what changed, what failed, or what still needs attention |
| A regression row shows a GitHub check result | Canary posted regression status back to a matching pull request for the release |
| A timeline row includes a Release QA action | You can start bootstrapping a Release QA suite directly from that release activity |
| A bootstrap event shows proposed specs, in-progress work, or a failed run | Canary is showing the current bootstrap state so you can tell whether proposals are ready to review, still generating, or need follow-up |
When you review release progress, compare the deployed commit with the rest of the visible timeline. This helps you separate what is live now from what is only planned or recently added.
05Reading the timeline
Read each row as a release event with a compact summary. Commit rows show source changes and deployment context. Release run rows show whether notes, regression, docs, or linked summaries are available. Bootstrap rows show initial Release QA planning output directly on the timeline.
When you see a bootstrap event, use the row state first to understand whether the work is still running, finished with proposals, or stopped because the bootstrap job failed. If proposals are available, open the event to review the suggested flows directly in the timeline before you decide what to turn into coverage.
Use bootstrap summaries like this:
| Field | What it means |
|---|---|
| Proposed specs | The number of new specs Canary generated for the bootstrap run |
| Proposed flows | The workflows Canary suggests you review directly from the timeline before creating or updating coverage |
| Skipped categories | Coverage areas Canary identified but did not include in the proposed bootstrap output |
| Run summary | A short summary of the bootstrap result, such as whether specs were proposed, whether no-change checkpoints were found, whether generation is still in progress, or whether follow-up review is needed after a failure |
| Repo context | The repository or repositories the bootstrap event applies to |
Use the bootstrap row state to decide what to do next:
| Bootstrap state | What it means | What to do next |
|---|---|---|
| In progress | Canary is still generating bootstrap output for this release activity | Wait for the row to update, then review the proposed flows when they appear |
| Completed with proposals | Bootstrap finished and generated suggested specs or flows | Open the event, review the proposals in the timeline, and turn the ones you want into workflows |
| Completed with no changes | Bootstrap finished but did not find new coverage to suggest | Treat the release as already covered or review nearby activity for additional context |
| Failed | Bootstrap did not complete successfully | Review the summary for context, then retry or follow up before relying on the bootstrap output |
If your property is linked to one repository, read the timeline as a single commit stream. If your property is linked to two or more repositories, use the repo legend at the top of the timeline to identify each repository, then match the label on each commit row to the legend.
Use the legend to see which repo role or repo name each label represents. Then scan the commit rows and use the per-repo labels to tell which repository each commit came from before you compare timing, deployment status, or related release runs.
Read the multi-repo timeline like this:
- Check the repo legend at the top of the page.
- Identify the label used for each linked repository.
- Scan commit rows and match each row label to the legend.
- Read nearby release run rows and bootstrap rows to understand how work across the linked repositories fits into the same release.
Use the multi-repo view to answer questions like these:
| What to check | How to read it |
|---|---|
| Which repository a commit came from | Match the commit row label to the repo legend |
| What a repo label means | Read the corresponding repo role or repo name in the legend |
| Whether multiple repositories contributed to the release | Scan commit rows for different repo labels across the same time range |
| Whether a release run applies across repos | Read the surrounding timeline activity together and compare the labeled commits tied to that run |
| Whether a bootstrap event spans more than one repository | Read the repo context in the bootstrap row and compare it with the nearby linked commit labels |
| Which run includes notes, regression, or docs work | Check the row-level indicators on the related release run |
| Whether a summary applies to the whole release | Treat notes, regression results, docs updates, and bootstrap summaries as unified output across the linked repositories |
If you need more context, hover over the row details to review the related summary. Use that detail to confirm whether a failed regression needs investigation, whether a bootstrap suggestion needs review, or whether a summary is only calling out informational changes.
06Release runs
Use release runs to understand the outcome of each pass through QA and release work. For multi-repo releases, a single run represents the linked repositories together instead of treating each repository as a separate output.
When you compare runs, focus on the status indicators instead of relying only on timestamps. This helps you tell the difference between a run that is missing regression output and a run that completed regression checks with an explicit pass or fail result.
When a run includes Release QA planning, open the test area details to review what the AI plans to validate before you decide whether coverage is sufficient.
07Status indicators
Status indicators give you a fast way to understand release readiness from the timeline view. Read them together instead of treating any single indicator as the full picture.
| Indicator type | What it tells you | What to do next |
|---|---|---|
| Notes present | The run includes release notes or QA notes | Open the run if you need the full written context |
| Regression present | The run includes regression coverage | Check the result to confirm whether regression passed or failed |
| Regression passed | Regression checks completed successfully for that run | Use this as a positive validation signal, then review any remaining issues |
| Regression failed | Regression checks completed and found a failure | Investigate the failure before you treat the run as ready |
| GitHub check posted | Canary posted the regression result to a matching GitHub pull request as a check | Open the linked pull request if you need to confirm what reviewers will see |
| Docs present | Documentation updates are linked to the run | Review docs work if the release changes user-facing behavior |
| Issue or regression summary present | The timeline exposes the most relevant open issue or result summary | Hover or open the run to review the details |
| Bootstrap in progress | Canary is still generating bootstrap output for that timeline event | Wait for completion before you review or promote proposals |
| Bootstrap failed | The bootstrap job did not complete successfully | Review the summary, then retry or follow up |
| Bootstrap summary present | The timeline exposes proposed spec counts, proposed flows, skipped categories, or a run summary for a bootstrap event | Open the bootstrap details if you need to review the generated coverage before promotion |
Use these indicators to triage runs quickly. For example, prioritize runs with regression failures first, then review runs with summaries that call out unresolved issues or follow-up work.
08Reviewing Release QA plans
Open a release run with Regression coverage to inspect its Release QA test areas. Each test area now includes a richer AI-generated plan so you can understand the intended coverage before or after the run executes.
Use the expanded test area details to review:
| Detail | How to use it |
|---|---|
| Test instructions | Confirm the exact workflow the AI plans to follow and whether the steps match the release change |
| Workflow build goal | Check what outcome the test area is trying to validate so you can judge whether the scope is appropriate |
| Prerequisites and test data | Verify that required setup, sample data, or starting conditions are available |
| Credentials | Confirm why a credential is needed and whether it matches the systems involved in the test |
| Cleanup steps | Review how the run should leave the environment after testing |
| Related files | See which files influenced the test plan and use them to spot missing coverage |
| Related commits | Connect the test area back to the code changes that likely triggered the planned coverage |
| Test recommendation type | Identify whether the plan suggests a brand-new test or recommends updating existing regression coverage |
| Tags | Confirm which regression tags scope this test area so you can tell why it is included in the run |
Release QA planning can now recommend maintenance updates to an existing regression test alongside suggestions for brand-new tests. Use the recommendation type and the surrounding plan details to decide whether you should create new coverage, refine a current test, or do both.
Review these details when you need to decide whether a run covers the right risk areas. If a test area looks too broad, too narrow, or missing setup information, use the plan details to guide follow-up before you rely on the run as release validation.
When a recommendation points to an existing regression test, treat it as a maintenance signal rather than a duplicate request. Update the current test when the workflow, assertions, setup, or cleanup no longer match the release change, and add a new test only when the release introduces coverage that does not already exist.
Actions from the timeline
Use timeline actions when you want to move from release activity into Release QA setup without leaving the release context.
- Open Release Timeline for the property.
- Find the release activity you want to turn into Release QA coverage.
- Select the Release QA action from that timeline entry.
- Review the bootstrapped suite and continue setup in Release QA.
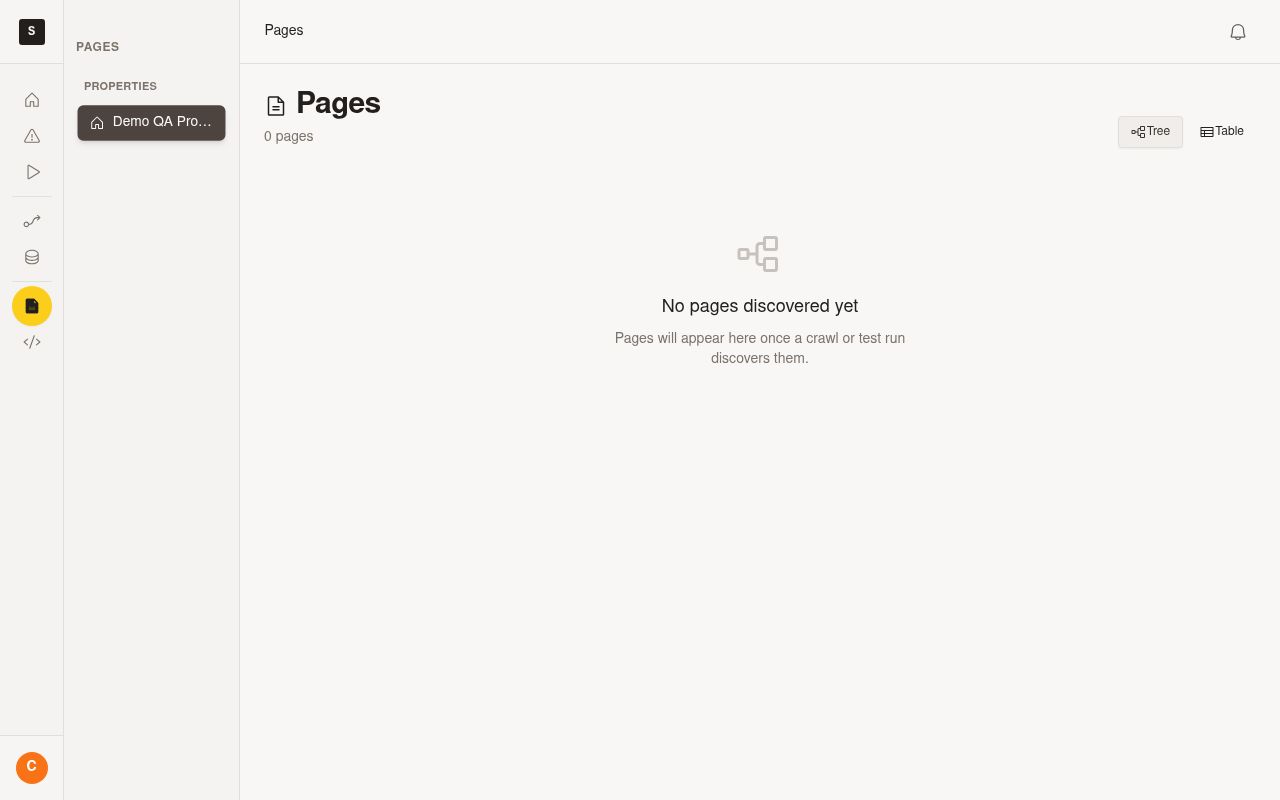
Use this flow to create an initial suite faster when you already know which release activity needs coverage. Start from the timeline when you want the suite setup to reflect the release context you are already reviewing.
09Release run details
Open a release run to review the full output for that point in the timeline. In a multi-repo release, the run details combine linked repository results into one place so you can review notes, regression coverage, and docs work together.
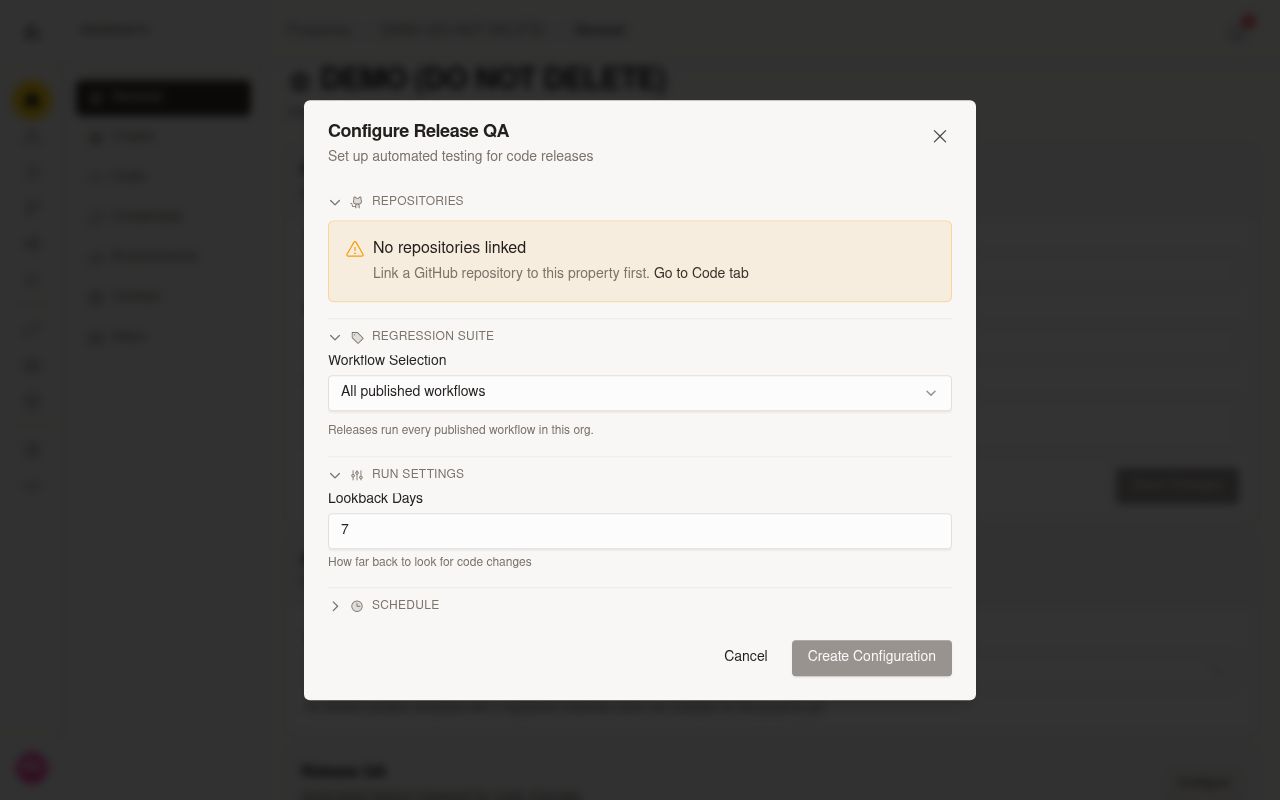
In the run details, review the linked repositories and regression scope first. This helps you confirm which repositories are part of the release and whether the run covers the tags you expect.
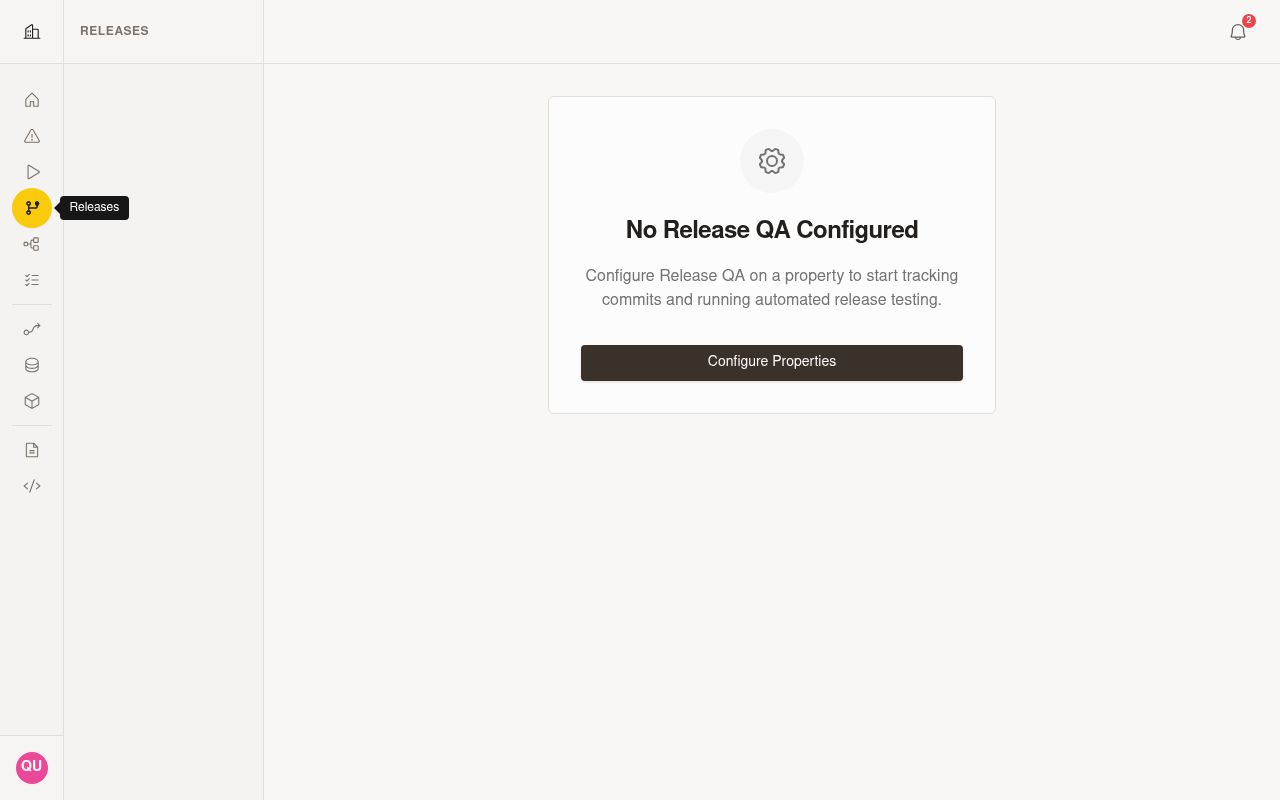
Use the status indicators in the run details to quickly confirm what completed successfully and what still needs attention.
| Detail area | What to look for |
|---|---|
| Linked repositories | Confirm which GitHub repositories are attached to the release and whether the run reflects all expected code sources |
| Regression scope | Check which one or more tags limit the regression suite for this run |
| Notes | Confirm whether release notes or QA notes were generated for the run |
| Regression | Check whether regression coverage is present and whether the result passed or failed |
| GitHub checks | Confirm whether Canary posted the regression result back to a matching pull request |
| Docs | See whether documentation updates are attached to the run |
| Summary text | Review the most important issue, regression result, or follow-up item called out for the run |
| Unified output | Read the run as a release-level summary across linked repositories, not as separate per-repo reports |
If a run shows partial completion, use the indicators to decide where to follow up first. For example, review failed regression output before you treat release notes or docs updates as enough evidence that the release is ready.
If your workspace has the release-qa, release-qa.multi-repo, and release-qa.github-checks flags enabled, Release Timeline can show the full GitHub feedback loop for a run. Use that view to confirm that the same regression result you see in Canary is also visible on the related pull request.
10Best practices
- Check the deployed commit before validating production behavior
- Use the timeline during QA handoff to align on what is actually live
- Review both commit order and deployment status instead of relying on timestamps alone
- Recheck the timeline during active rollouts, since the deployed commit can change as releases advance
- Share the timeline view during launch reviews or incident discussions to keep everyone aligned on release state
- Scan row-level status indicators before opening a run so you can focus on failures and unresolved summaries first
- Review Release QA test area details before approving a run so you can confirm the planned coverage, setup, and credential use make sense
- Compare related files and related commits in a test area with the release changes you expect to validate
- Use timeline actions to bootstrap a Release QA suite when release activity clearly identifies what needs initial coverage
- Review bootstrap events directly in the timeline so you can inspect proposed flows before you create workflows from them
- Watch bootstrap state changes so you can tell the difference between work that is still generating, coverage that is ready for review, and jobs that need follow-up after failure
- Link every repository that contributes to the release so the timeline reflects the full release instead of a partial commit view
- Use one or more regression tags to scope coverage when you want release validation to focus on the highest-risk areas
- Verify the GitHub check result on the matching pull request when you need to share regression status with reviewers outside Canary